Are you a wine enthusiast, or someone who enjoys a fun hobby to help take their mind off the stresses of every day life? Maybe you just like knowing what exactly goes into the things you consume. Making wine at home can cover all of those things and so much more. It is a fulfilling and enjoyable process that can be done with a few basic ingredients and equipment. Whether you’re a wine connoisseur or simply looking to try something new, this guide will walk you through the steps to create your very own homemade wine.
Ingredients and Equipment
Before starting, gather the following ingredients and equipment:
Ingredients:
- Fresh fruit (grapes are traditional, but you can use berries, apples, or other fruits)
- Sugar
- Yeast (specifically wine yeast)
- Water
Equipment:
- Fermentation vessel (glass or plastic carboys work well)
- Airlock
- Siphon tubing
- Sanitizer (for cleaning equipment)
- Hydrometer (optional, for measuring sugar content)
- Bottles and corks or caps
Step-by-Step Process
1. Preparing the Fruit
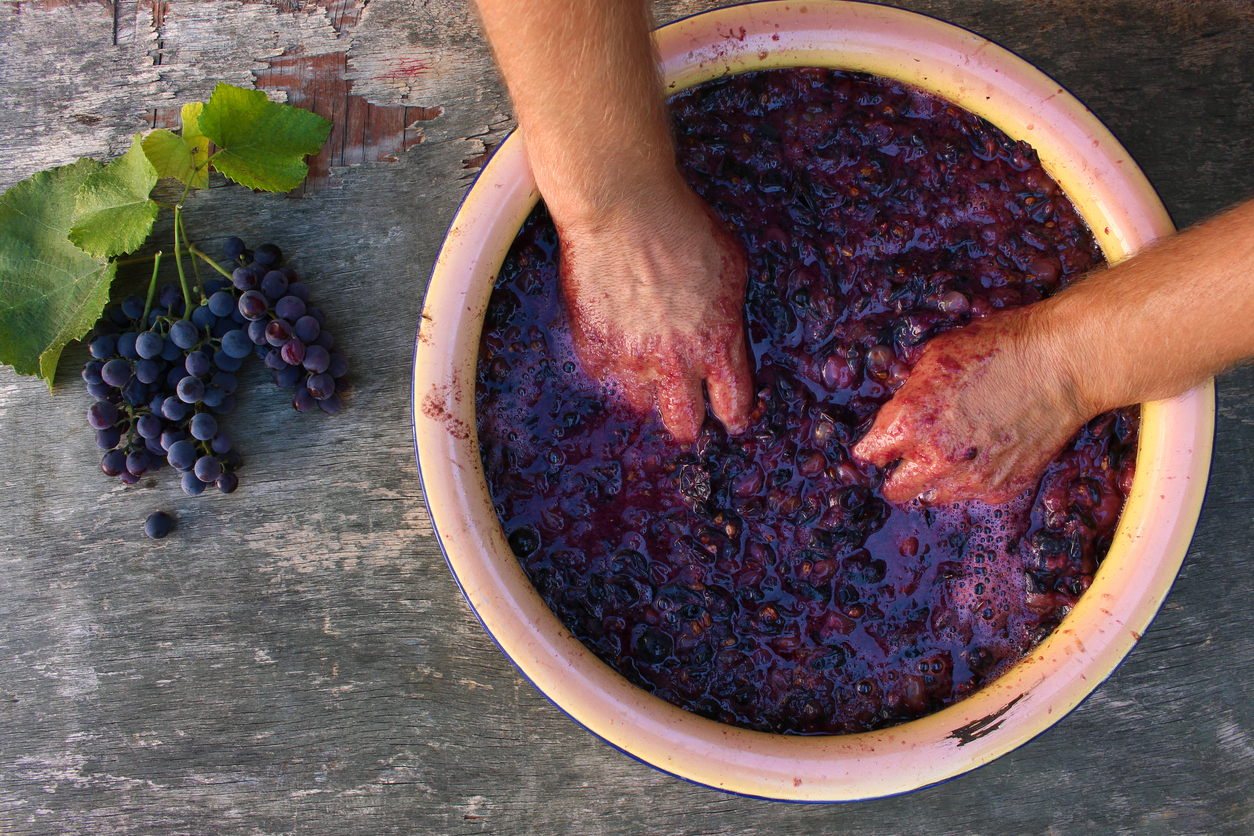
Start by thoroughly washing the fruit to remove any dirt or pesticides. Remove stems, seeds, and pits, as they can impart unwanted flavours to the wine. Crush the fruit to release its juices. You can use a potato masher, a fruit press, or even your hands for this step.
2. Making the Must
The crushed fruit and juice mixture is called “must.” Transfer the must to your sanitized fermentation vessel. Add sugar to the must; the amount will vary depending on the fruit’s natural sugar content and your desired sweetness. Typically, you’ll need about 0.9 to 1.4 kilograms of sugar per 3.8 liters of must.
3. Adding Water
Dilute the must with water. The amount of water needed will depend on the fruit’s juiciness. Generally, for every 4 cups of must, add 1 cup of water. This helps balance the flavours and ensure the yeast has enough liquid to ferment.
4. Adding Yeast
Next, add the wine yeast. Follow the instructions on the yeast packet for proper rehydration and pitching. Sprinkle the yeast evenly over the surface of the must. Gently stir to incorporate.
5. Fermentation
Cover the fermentation vessel with a clean cloth and secure it with a rubber band to keep out contaminants. Place the vessel in a dark, cool area with a stable temperature between 15-24°C. After 24-48 hours, you should see bubbles forming, indicating that fermentation has begun.
6. Monitoring and Stirring
For the first week, stir the must daily to keep the fruit pulp wet and to promote even fermentation. Use a sanitized spoon for this purpose. After a week, attach the airlock to the fermentation vessel. This allows carbon dioxide to escape while preventing oxygen and contaminants from entering.
7. Secondary Fermentation
After about 2-3 weeks, when bubbling slows down significantly, it’s time to transfer the wine to a secondary fermentation vessel. Use siphon tubing to carefully siphon the liquid into a clean, sanitized carboy, leaving the sediment (lees) behind. Attach the airlock to the new vessel and let it ferment for another 4-6 weeks.
8. Aging
Once fermentation is complete (no more bubbles rising through the airlock), it’s time to age the wine. Siphon the wine into clean bottles, leaving any remaining sediment behind. Cork or cap the bottles securely. Store the bottles on their sides in a cool, dark place.
9. Bottling and Enjoying
Allow the wine to age for at least 3 months before tasting, though longer aging (up to a year or more) can significantly improve the flavour and complexity. When ready to drink, chill the wine, pour it into a glass, and savour the fruits of your labor.
Tips for Success
- Sanitation is Key: Always thoroughly clean and sanitize all equipment before use to prevent contamination.
- Patience: Wine-making is a slow process that requires patience. The longer you allow the wine to age, the better it will taste.
- Experiment: Don’t be afraid to experiment with different fruits, sugar levels, and aging times to create a wine that suits your taste preferences.
- Record Keeping: Keep detailed notes of your process and any variations you try. This will help you replicate successful batches and tweak future ones.
Making wine at home is a rewarding hobby that allows you to explore your creativity and enjoy the results of your hard work. By following these steps and taking the time to perfect your technique, you can produce delicious homemade wine that rivals commercial offerings. Cheers to your winemaking journey!